

 Every homeowner should know how to clean a bathroom fan. It’s one of the hardest working, but most overlooked appliances in your home. Excessive moisture can lead to warped wood, peeling paint, rusted metal, and even mold & mildew. By venting it, your fan helps you avoid expensive repairs.
The fan also ensures your bathroom is well-ventilated. Because few bathrooms are equipped with large windows, the fan is the only way to remove odors, fumes, and contaminants. Unfortunately, over time, dust and dirt can build up on the fan blades and vent cover, restricting airflow or clogging the mechanism, making it impossible to exhaust unwanted moisture or airborne particles.
Fortunately, it doesn’t take a professional to clean a bathroom fan. All you need is thirty minutes and a simple set of tools. Set aside time every 6-12 months. It will save money in the long run, not to mention creating a healthier and more pleasant environment for you and your family.
What You’ll Need
Before cleaning your bathroom fan, make sure you have the right tools. Nothing expensive is required. Just common household objects, such as:
- Stepladder
- Flashlight
- Screwdriver
- Towel
- Microfiber Cloth or Sponge
- Can of Compressed Air
- Soft Brush
- Duster
- Vacuum
Steps to Clean a Bathroom Fan
Fans run on electricity, so protect yourself from shock by cutting power to your bathroom at the circuit box. Once the power’s off, you’re ready to clean.
- Dust the Cover. Brush off any dust that’s accumulated on the fan exterior.
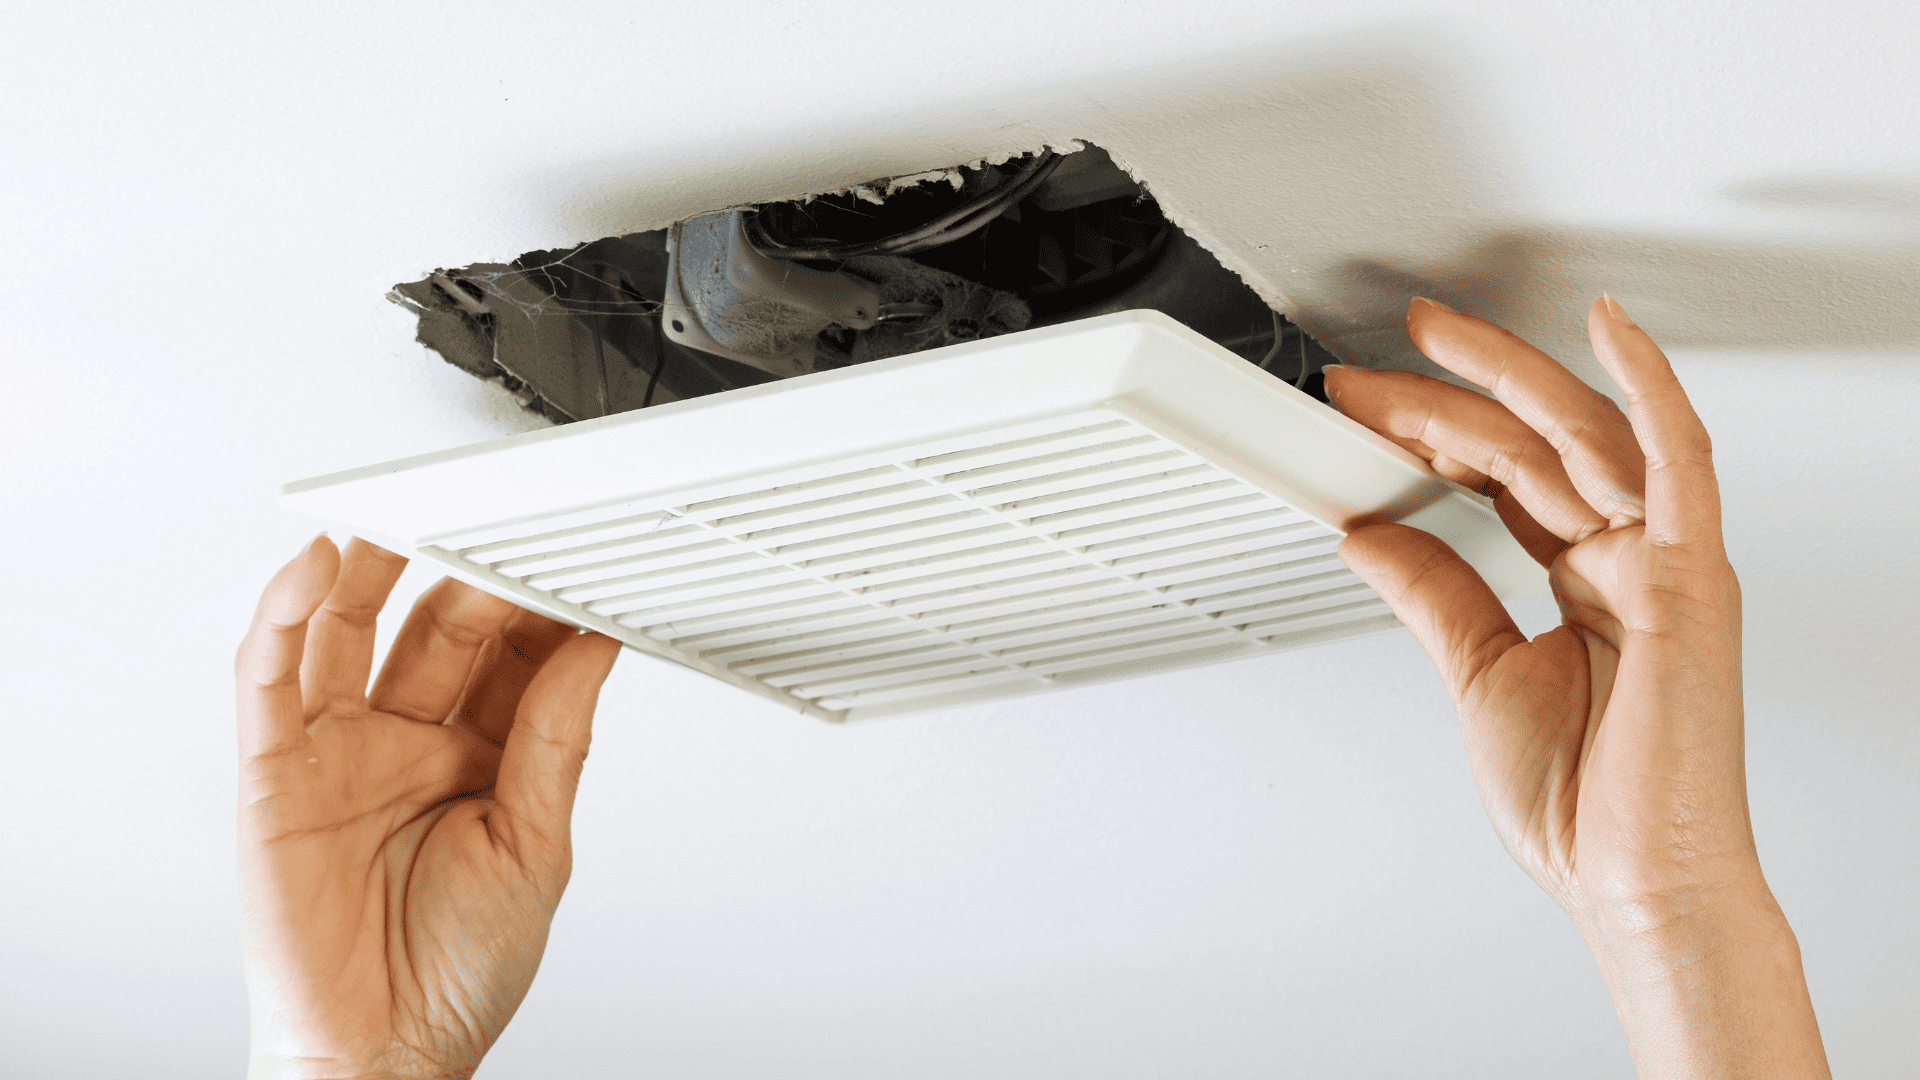
- Remove the Cover. Some fan covers snap out of their housing with a simple push. Others need to be unscrewed.
- Soak the Cover. Place it in a sink with warm water and soap. Let it sit for ten minutes, then wipe away all the dust and dirt with a sponge or microfiber cloth. Dry with a towel and leave it to air dry.
- Unplug and Remove the Fan. Most fans are plugged into the wall or ceiling. Once you’ve unplugged it, remove the fan from the housing. Most are designed to come out simply by turning them. If the fan can’t be removed, follow the steps below as best you can.
- Wipe Down the Blades. Wet your microfiber cloth or sponge and run it gently over the blades to remove dust. The blades are delicate, so be careful or you might bend them.
- Clean the Motor Housing. Wipe down the rest of the motor. Use a vacuum or compressed air to clear out hard-to-reach crevices.
- Dust the Recessed Housing. Next, siphon the dust out of the brackets in the wall or ceiling with a vacuum. Loosen stubborn dust with compressed air. If you don’t have a vacuum, a duster will work as well.
- Replace the Fan. To avoid a short, make sure all components are completely dry before putting them back into place. Turn the blades with your fingers to make sure they can spin properly, then plug in the unit and restore power.
Do a Test Run
Once your bathroom fan has been re-installed, switch it on and listen to the motor. If you hear a clicking noise, the fan is off-kilter and needs to be adjusted. Cut the power, unplug the fan, remove it from its housing, then screw it back in.
Protect Your Home
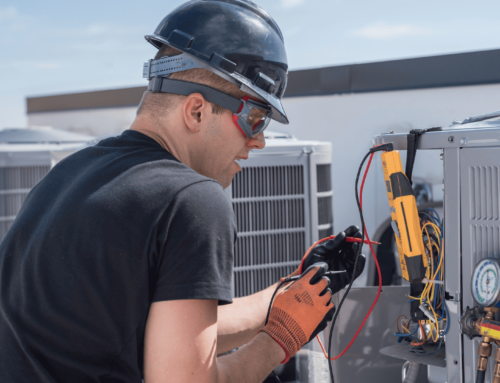
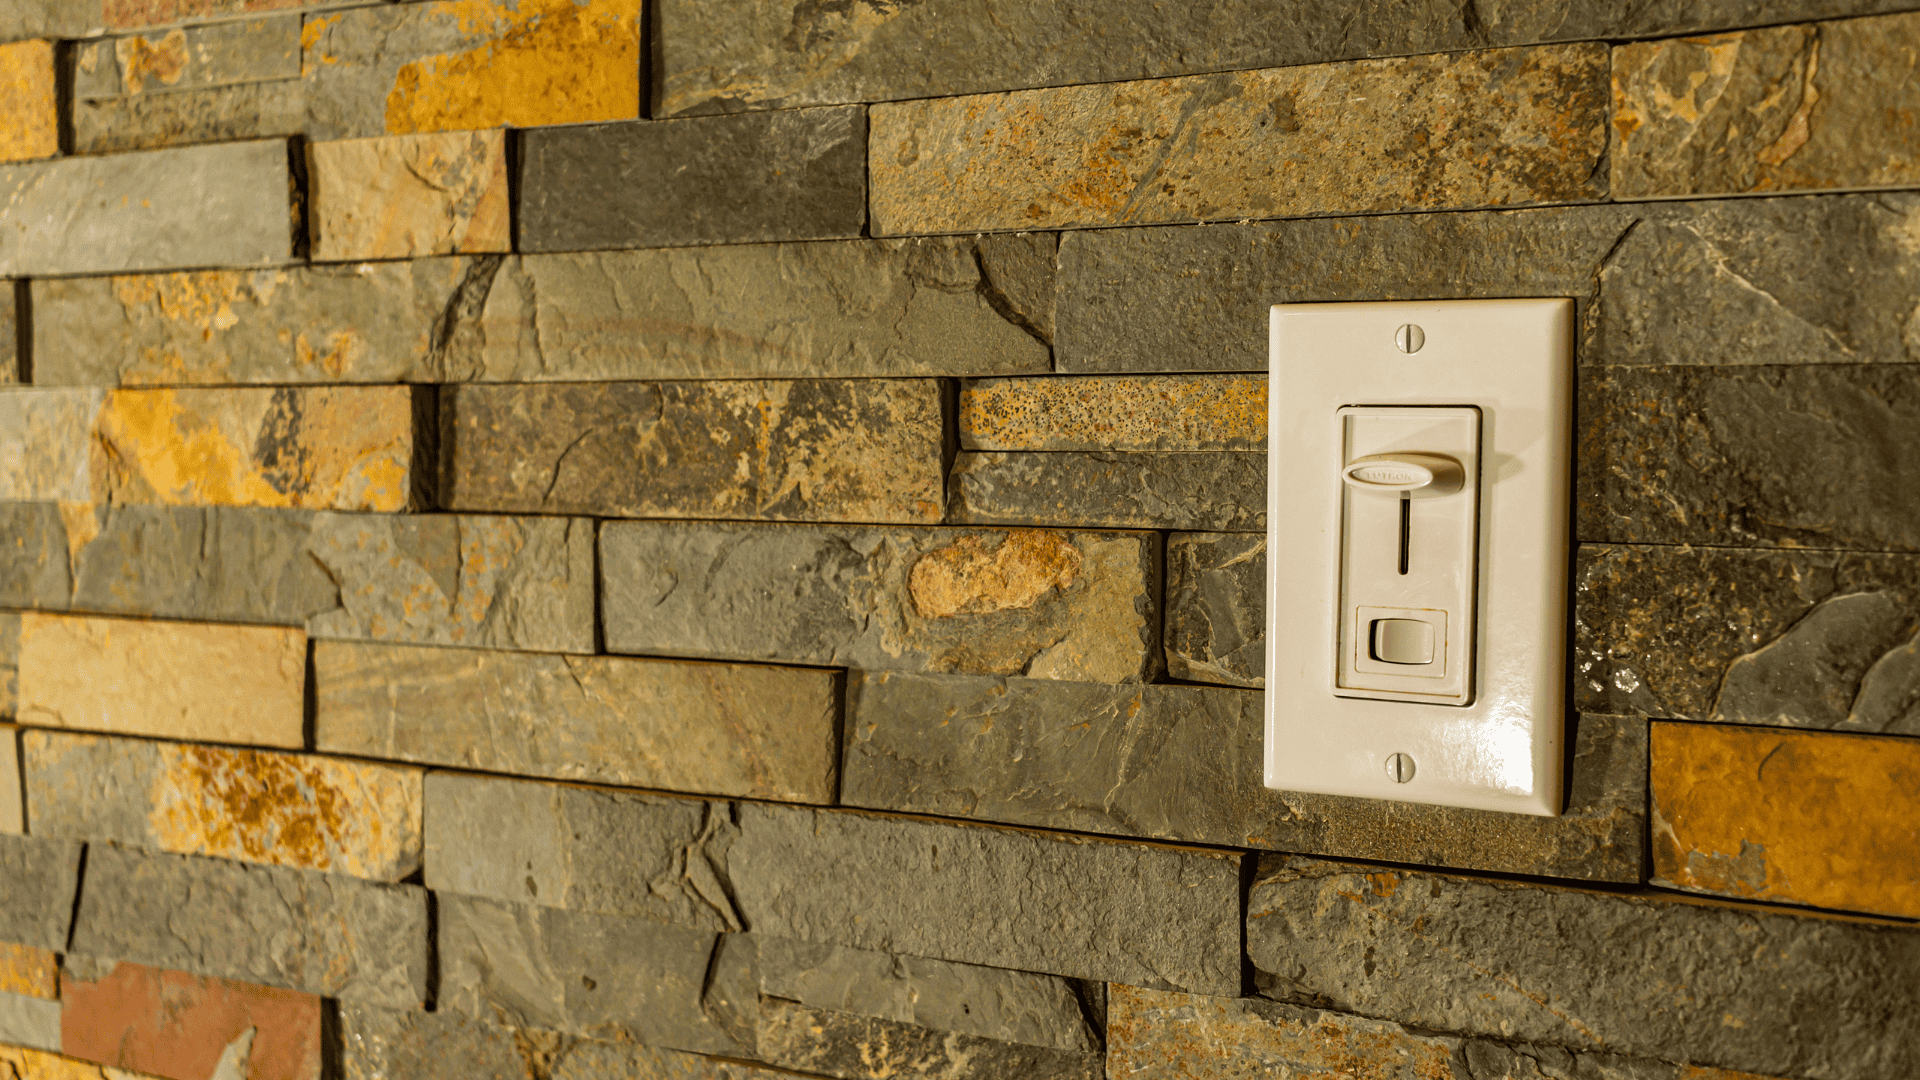
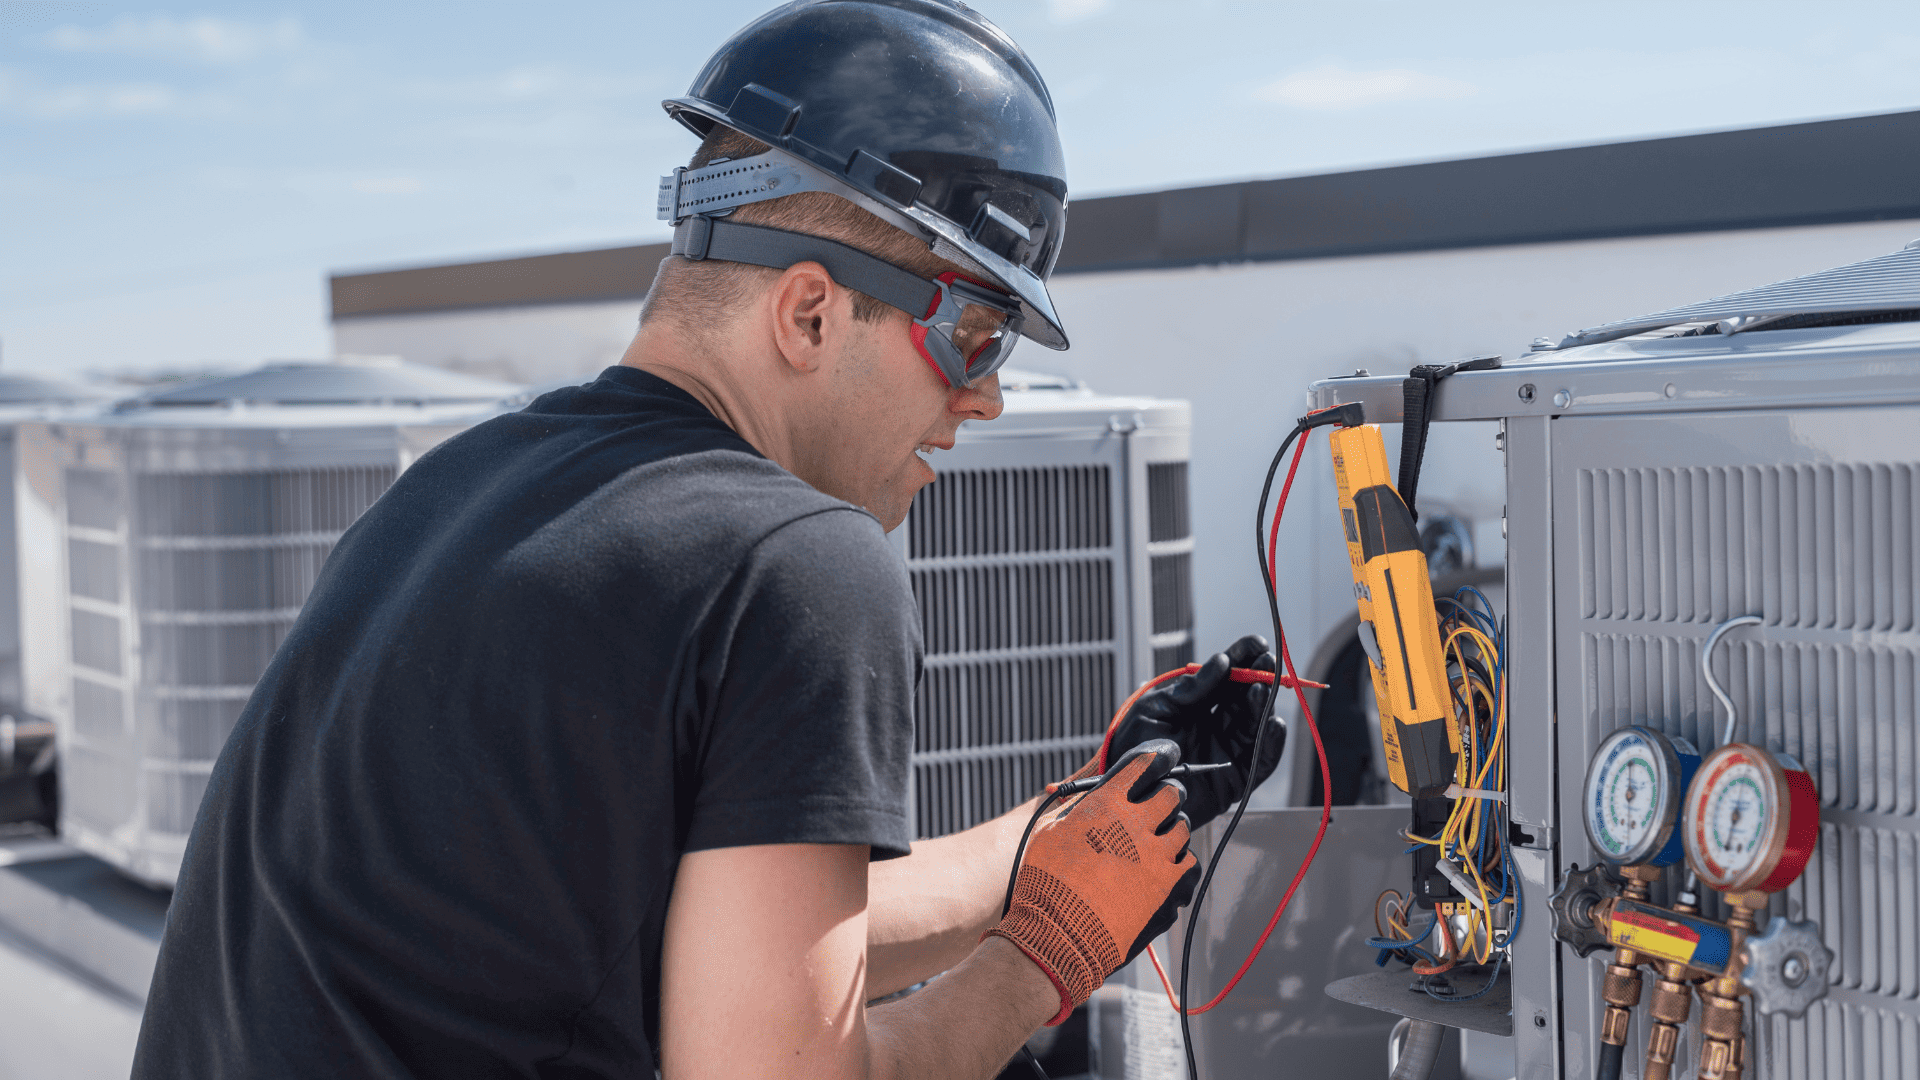
All home systems are connected. Bathroom fans rely on sound internal wiring to operate. If there’s a fault in your electrical circuitry, it not only leaves you vulnerable to damage but can be expensive to fix. Protect yourself with a HomesentialTM warranty.
When your heating system, cooling system, or electrical systems short out, we step in and pay for repairs on each covered component. There are no deductibles or service fees. All you pay is a low, monthly premium for full coverage. Sign up today!

